Our Custom Boat Wrap Design Process: From Vision to Water-Ready
Discover Ocean Wraps' step-by-step custom boat wrap design process. From initial concept to final installation, learn how we transform your vision into a stunni
Last updated February 18, 2026
The Journey of a Custom Boat Wrap: A Collaborative Process#
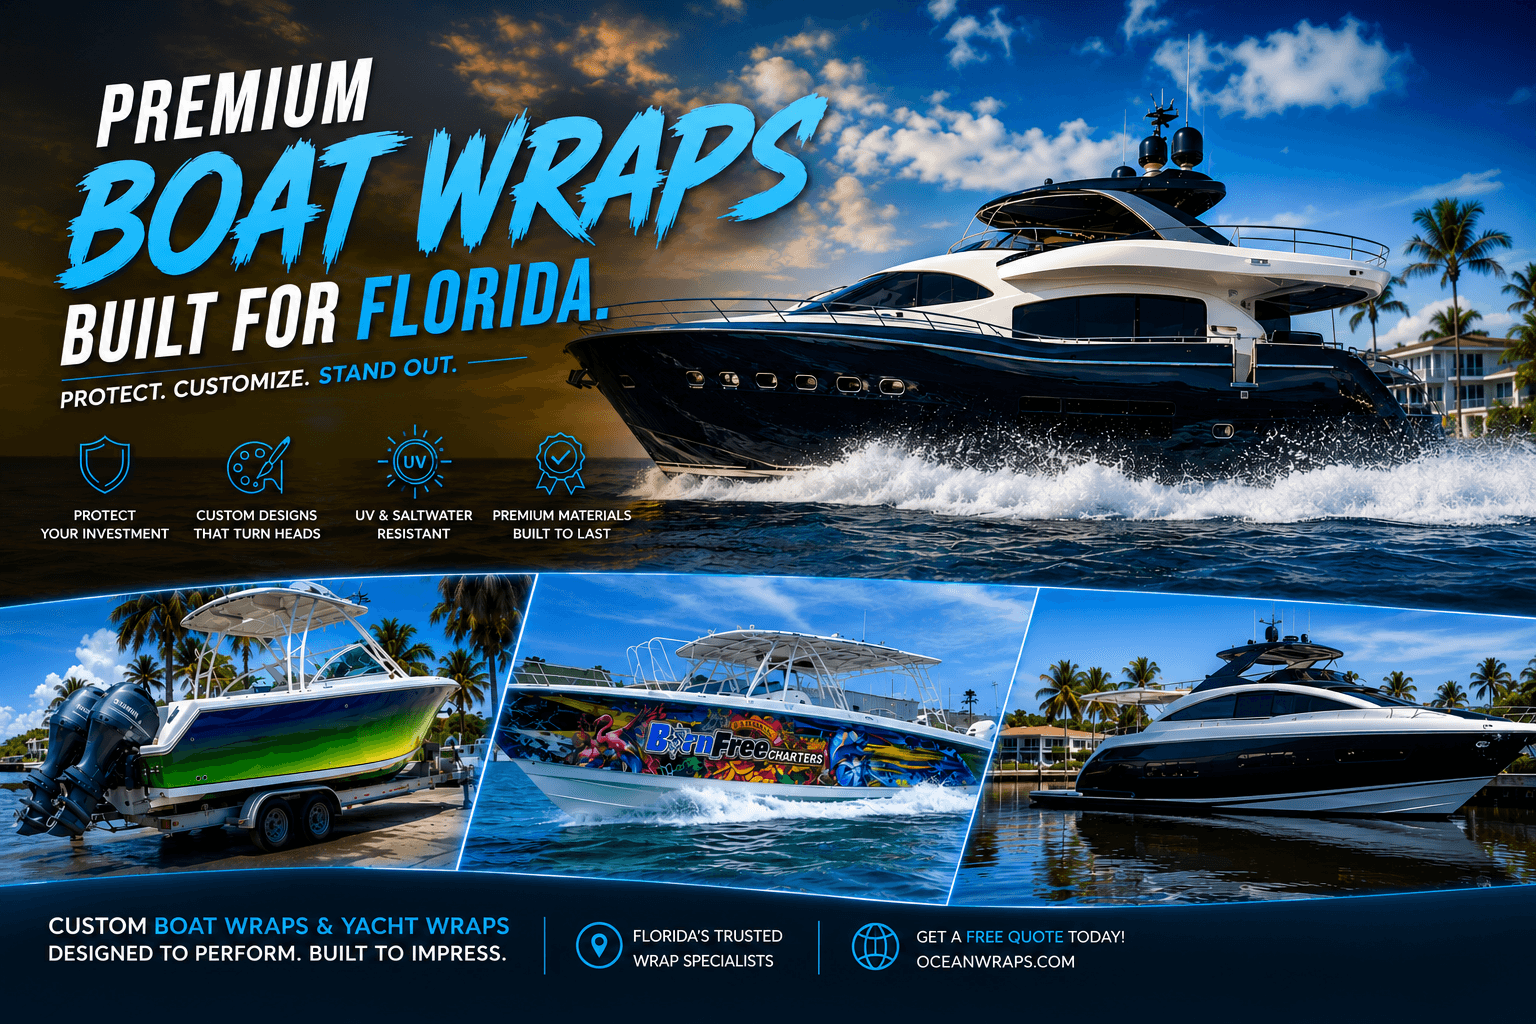
Transforming your boat with a custom wrap is more than just applying vinyl; it's a detailed, collaborative journey from an initial idea to a head-turning reality on the water. Unlike a simple decal, a full vessel wrap requires meticulous planning, expert design tailored to complex curves, and precision installation. At Ocean Wraps, we have refined a proven, multi-stage process that ensures your vision is not only realized but executed with the technical excellence required for the marine environment. This guide walks you through each step, so you know exactly what to expect when you partner with us.
Every great project starts with a conversation. We begin by discussing your goals. Are you looking for bold branding for a charter business, a sleek new color scheme for your yacht, or intricate custom artwork? We'll explore your ideas, preferred styles, color palettes, and any inspiration imagery you have. This is also when we discuss practical considerations like the boat's primary use and any existing hull conditions we need to account for.
A successful wrap starts with a proper foundation. Our team will conduct a thorough assessment of your boat's surfaces. We examine the gel coat condition, check for existing damage, oxidation, or old graphics that need removal, and note complex contours, hardware, and fittings. Based on this, we create a detailed surface preparation plan, which is crucial for ensuring optimal vinyl adhesion and longevity.
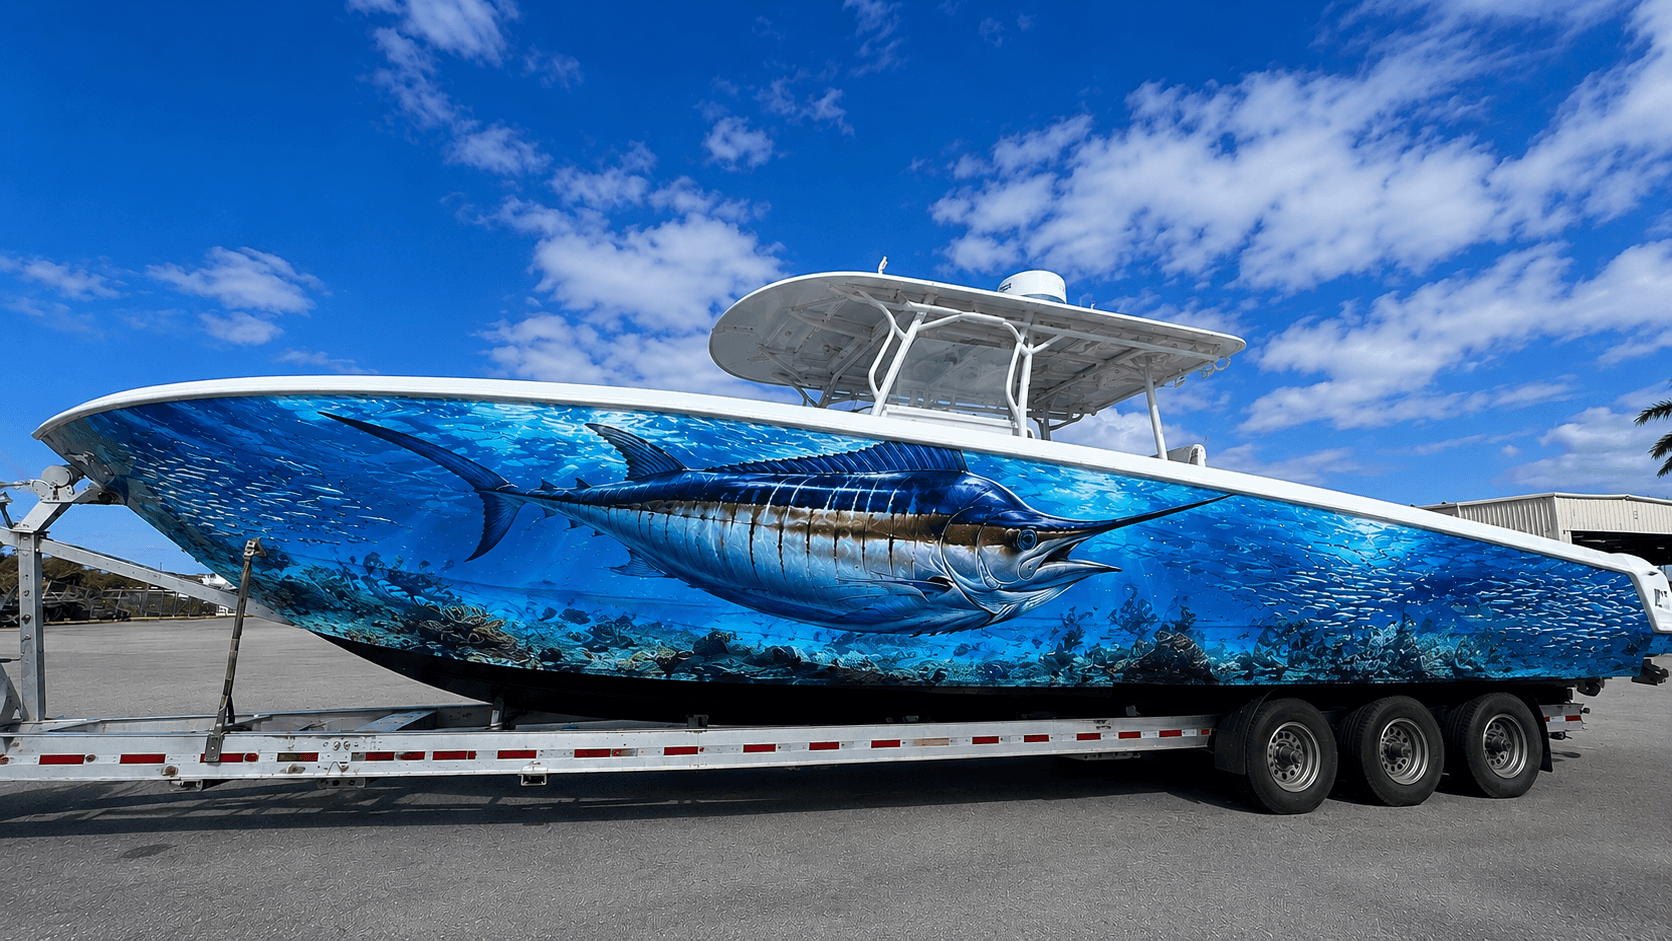
Our design team takes the concepts from our consultation and begins crafting your unique graphic. Using industry-leading software, we create digital mockups that are applied to a 3D model or photographs of your specific boat model. This allows you to visualize the design from every angle before any material is cut. We provide initial concepts for your review and welcome your feedback, engaging in a collaborative revision process until the design is perfect.
Engineering the Wrap: Template & Production Planning#
Once the design is approved, the technical phase begins. For complex hulls, we often create or reference precise digital templates to ensure graphics align perfectly over curves and seams. The design is then "ripped" or segmented into individual panels for production. Our experts plan the panel layout, seam placement (strategically located for the cleanest look), and material selection, choosing from premium marine-grade vinyls with the appropriate finish and durability.
Digital template creation for precise fit.
Strategic seam placement planning.
Panel layout and sizing for manageable installation.
Selection of premium, marine-grade cast vinyl and laminate.
Your design is printed using high-fidelity, UV-resistant inks that are formulated to withstand intense sun and saltwater exposure. Immediately after printing, a protective clear laminate is applied over the entire graphic. This laminate is your wrap's first line of defense, providing an additional barrier against UV rays, abrasion, salt, and chemical exposure, significantly extending the life and vibrancy of the wrap.
Using computer-controlled plotters, each panel is precisely cut according to the engineered plan. The installers then carefully "weed" the excess vinyl from around the graphics and prepare the full installation kit. Each panel is numbered and organized in the sequence it will be applied, ensuring a smooth and efficient installation day.
On installation day, the first and most critical step is preparing the boat's surface. This involves a comprehensive wash, decontamination, and a final wipe-down with a specialized alcohol-based solution to remove all traces of wax, oil, and debris. Any existing graphics are removed, and surfaces may be lightly sanded or compounded to create the perfect bonding surface. This step cannot be rushed, as it directly determines the wrap's adhesion and lifespan.
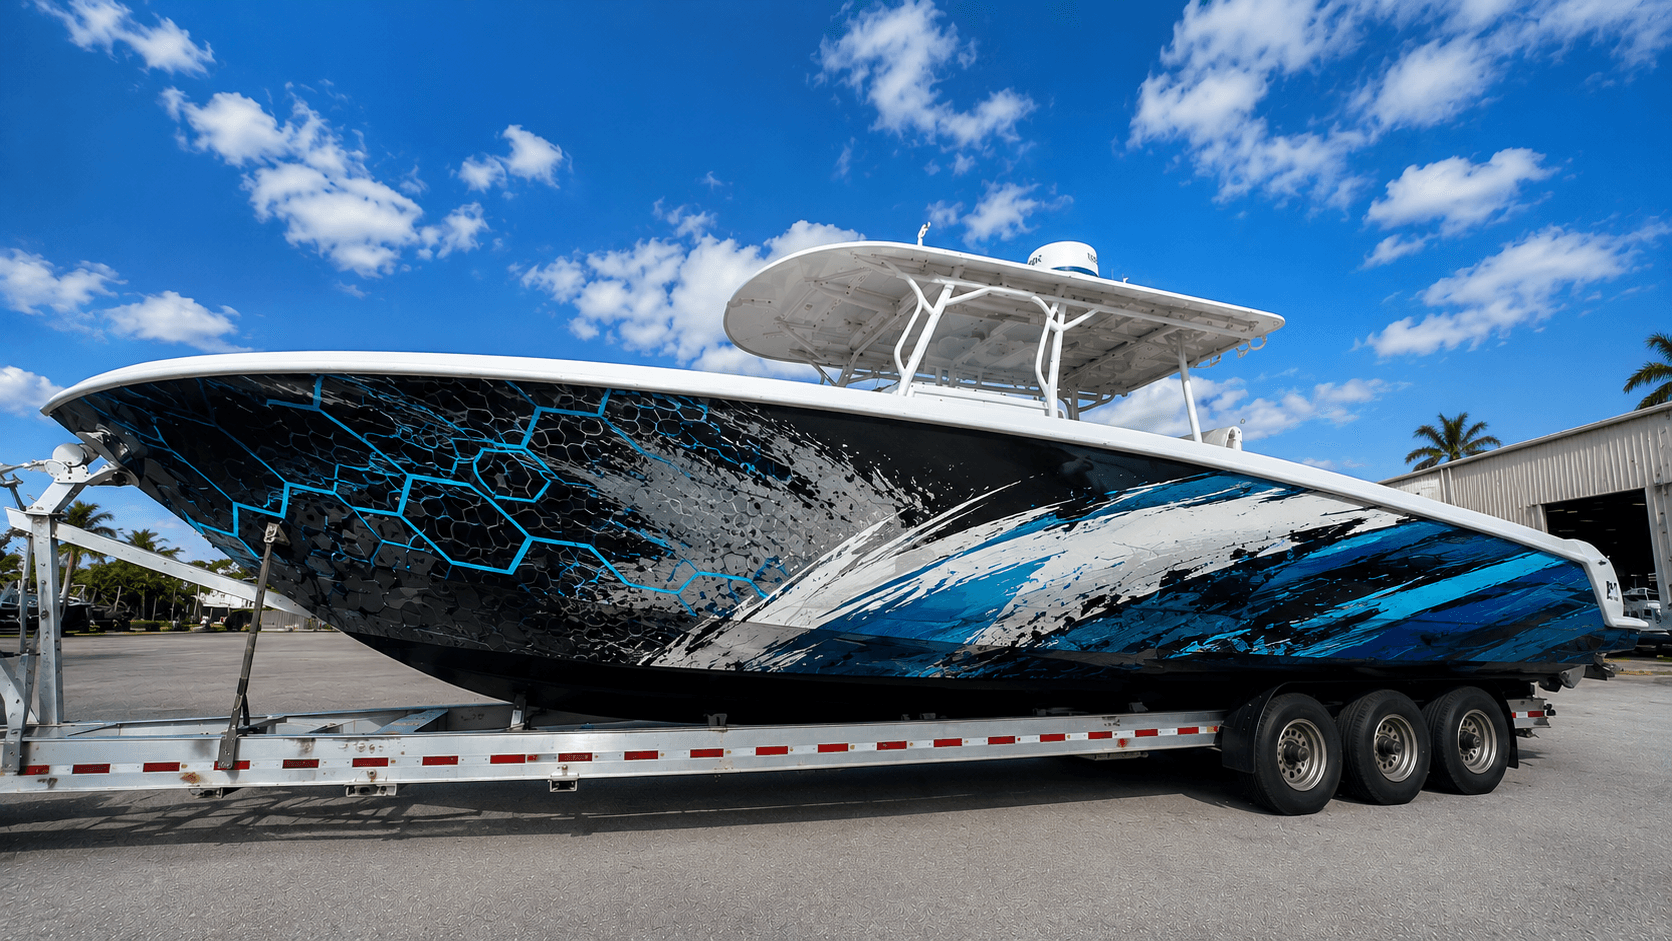
Our certified installers methodically apply the pre-cut panels using a combination of wet and dry techniques, depending on the panel size and hull curvature. They use specialized tools to stretch and conform the vinyl around complex curves, remove air and fluid, and ensure a bubble-free, seamless appearance. Hardware is carefully trimmed around, and all edges are firmly sealed. The final result is a flawless, painted-on look that transforms your vessel.
After installation, we conduct a rigorous quality inspection with you. We then provide clear, simple care instructions to help you maintain the wrap's brilliance. Proper maintenance typically involves using recommended marine-grade cleaners, avoiding abrasive tools or harsh chemicals, and periodic inspections. Following these guidelines, your Ocean Wraps installation can provide stunning protection and style for years.
A well-executed boat wrap is a fusion of art and marine engineering. It requires understanding both graphic design and how materials behave on a dynamic, curved surface in a harsh environment.
How long does the entire custom wrap process take?#
The timeline varies based on the design complexity, boat size, and our project schedule. Typically, from initial consultation to completion, a full wrap can take several weeks. The design and approval phase is collaborative and can take 1-2 weeks, while production and installation are usually scheduled within a concentrated timeframe once the design is finalized. We provide a projected timeline after our initial consultation.
Can a wrap be applied over old graphics or damaged gel coat?#
Old graphics must be completely removed. The vinyl must adhere directly to a stable, clean substrate. For damaged or heavily oxidized gel coat, surface repair and compounding are often necessary before wrapping. Part of our initial assessment is to identify any surface issues and recommend the required prep work to ensure a successful, long-lasting application.
Care is straightforward. Use mild, marine-specific soaps and a soft cloth or sponge for washing. Avoid pressure washers on high settings, abrasive pads, and harsh solvents like acetone or gasoline. When not in use, using a boat cover is recommended. We provide a detailed care guide upon project completion to help you protect your investment.
With proper installation on a well-prepared surface and correct maintenance, a marine-grade wrap can last between 5 to 7 years. Lifespan is influenced by environmental factors such as sun exposure, salinity, storage conditions, and frequency of use. The premium materials and protective laminate used by Ocean Wraps are specifically chosen for maximum durability in marine settings.
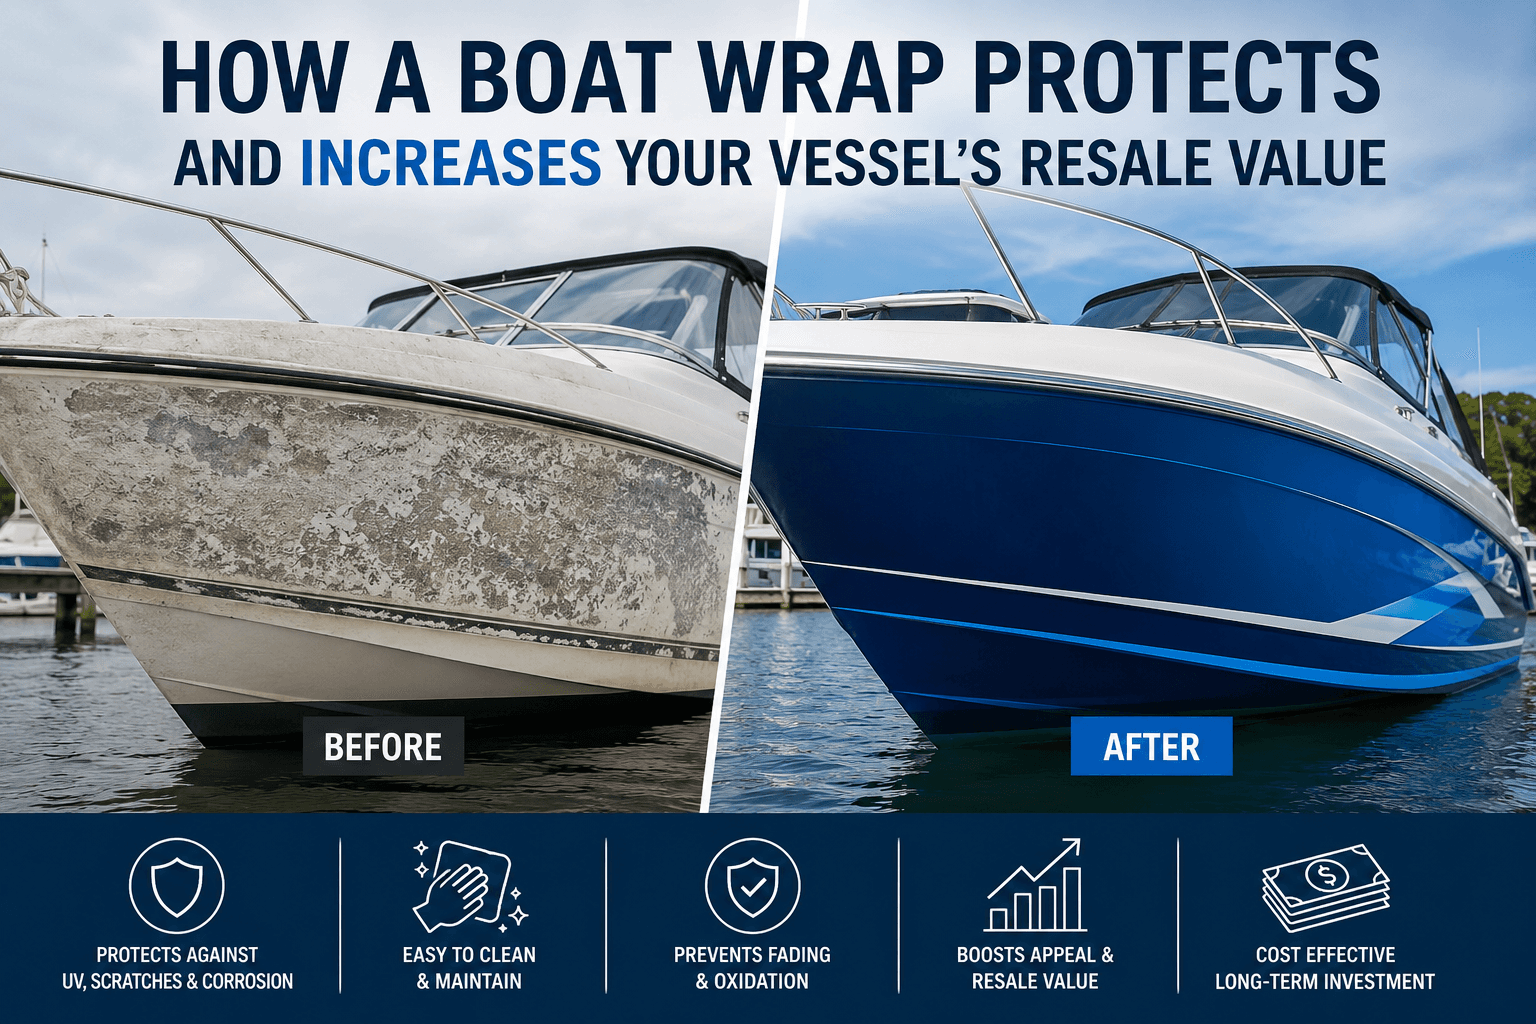
Yes, a primary benefit of a high-quality boat wrap is protection. The vinyl and laminate shield your gel coat from UV fading, minor abrasions, and oxidation. When the wrap is eventually removed, the underlying surface will be preserved in its original, pre-wrap condition, assuming the gel coat was sound before application.
Your vision for a transformed vessel is just a conversation away. Our detailed process is designed to guide you smoothly from concept to completion, ensuring a result that meets your highest expectations for quality and visual impact. Contact us to schedule your initial consultation and take the first step toward a stunning new look for your boat.