Boat Wraps for High-Performance Hulls: Managing Heat and Adhesion
Learn how certified installers manage heat and adhesion for durable boat wraps on high-performance hulls. Expert insights on materials, process, and professiona
Last updated March 12, 2026
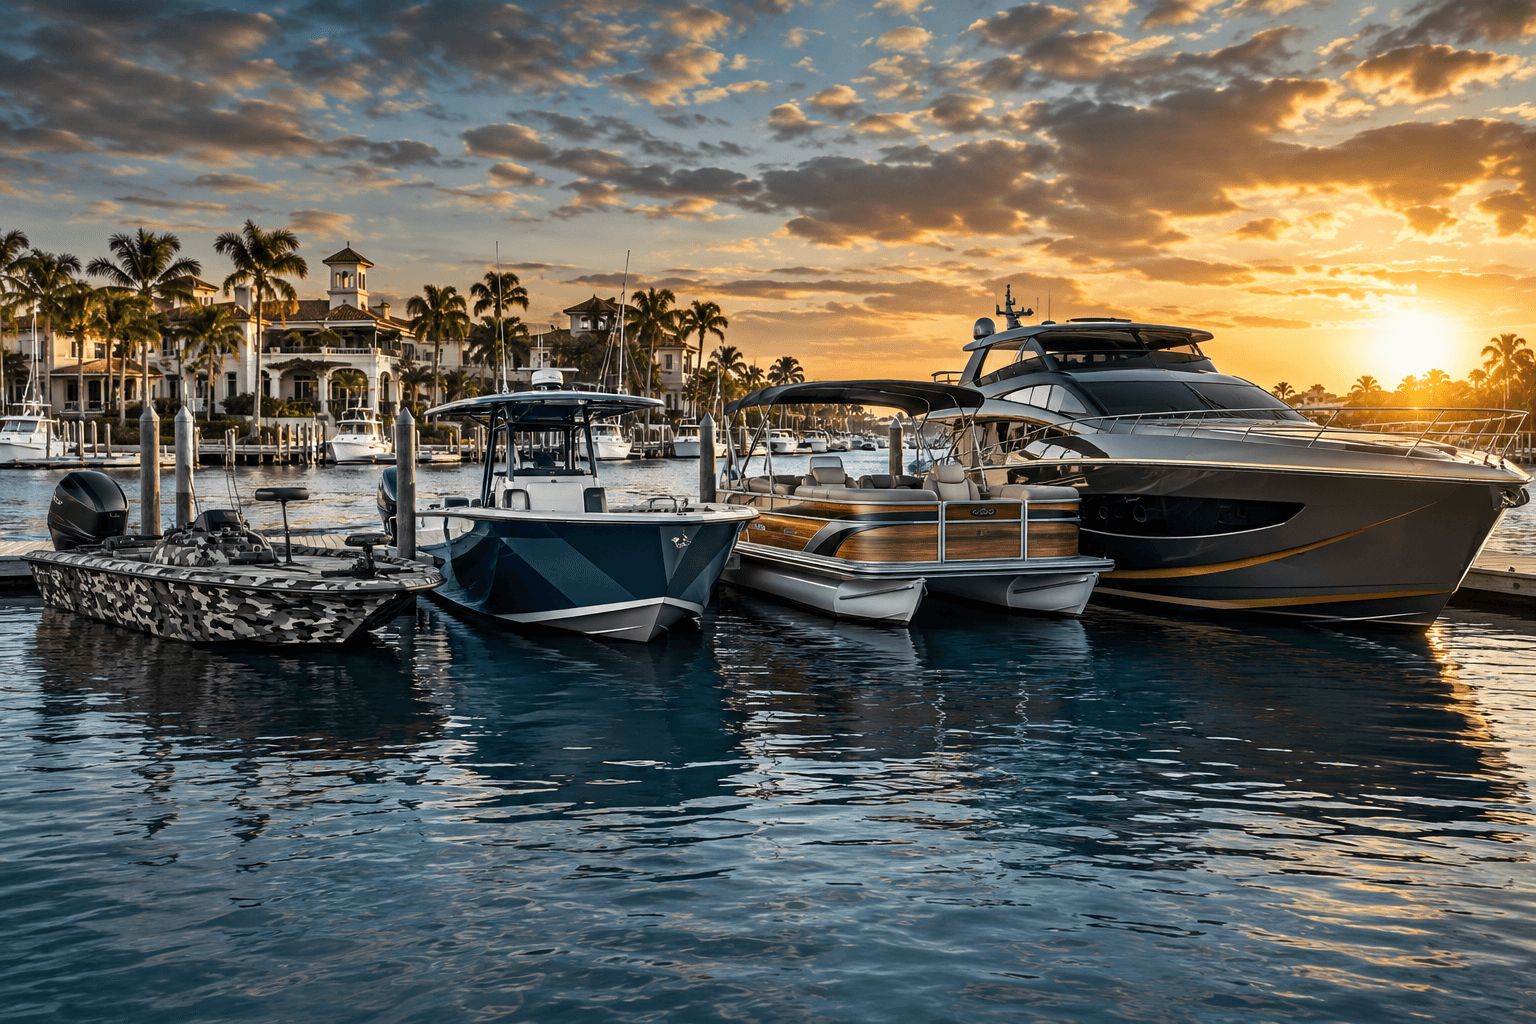
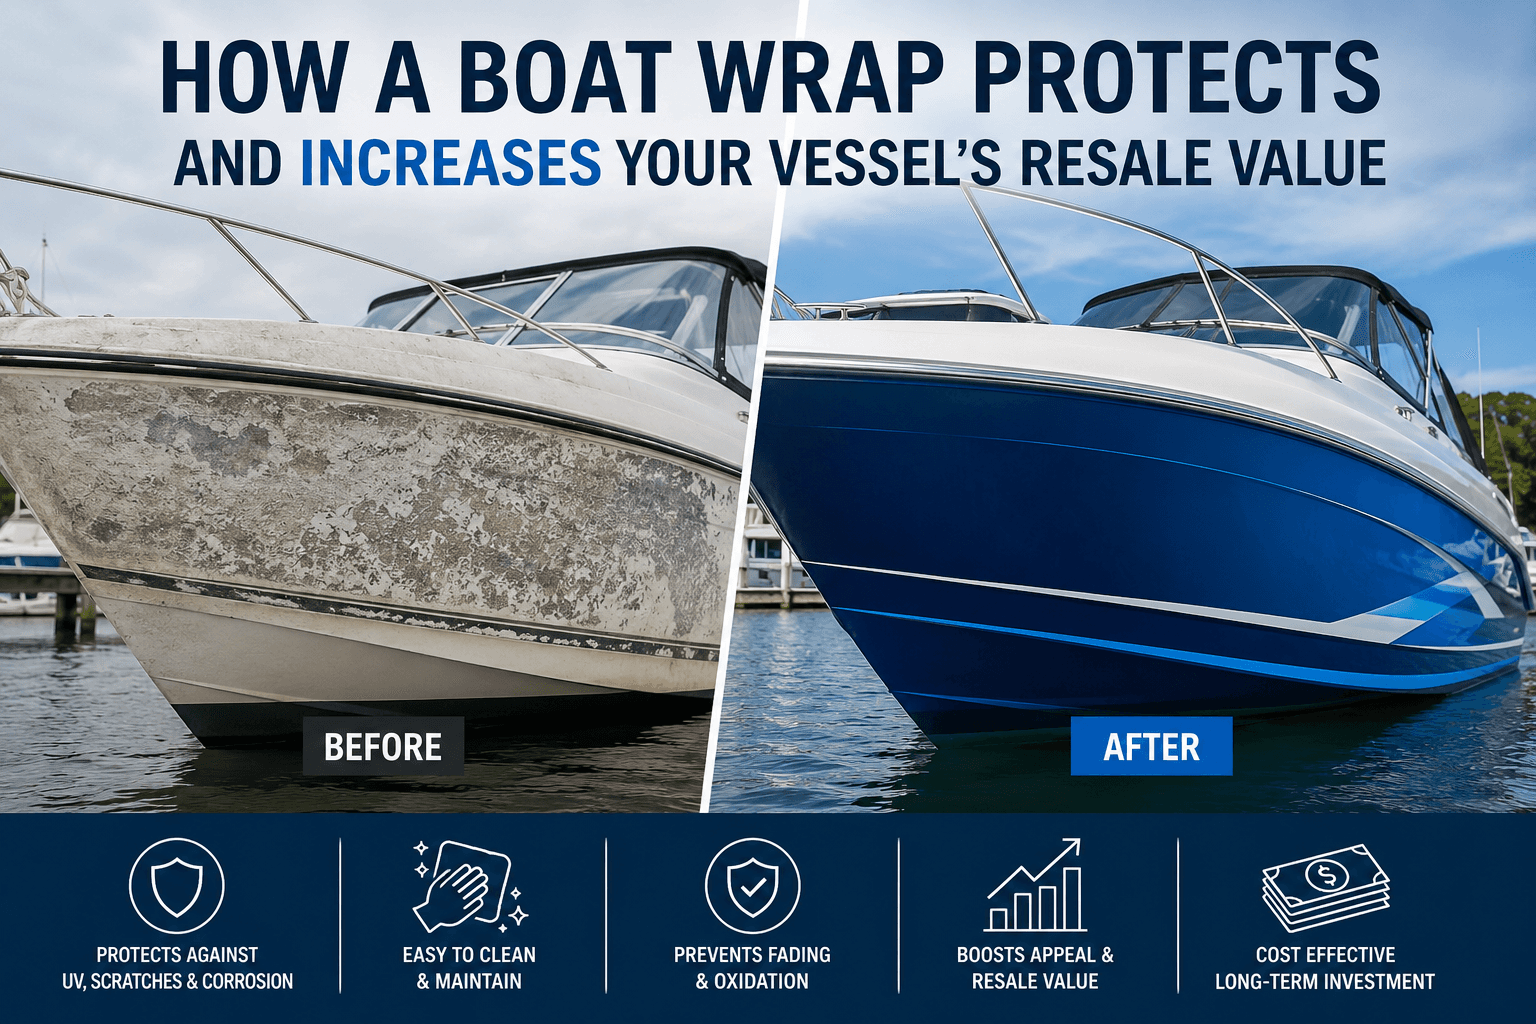
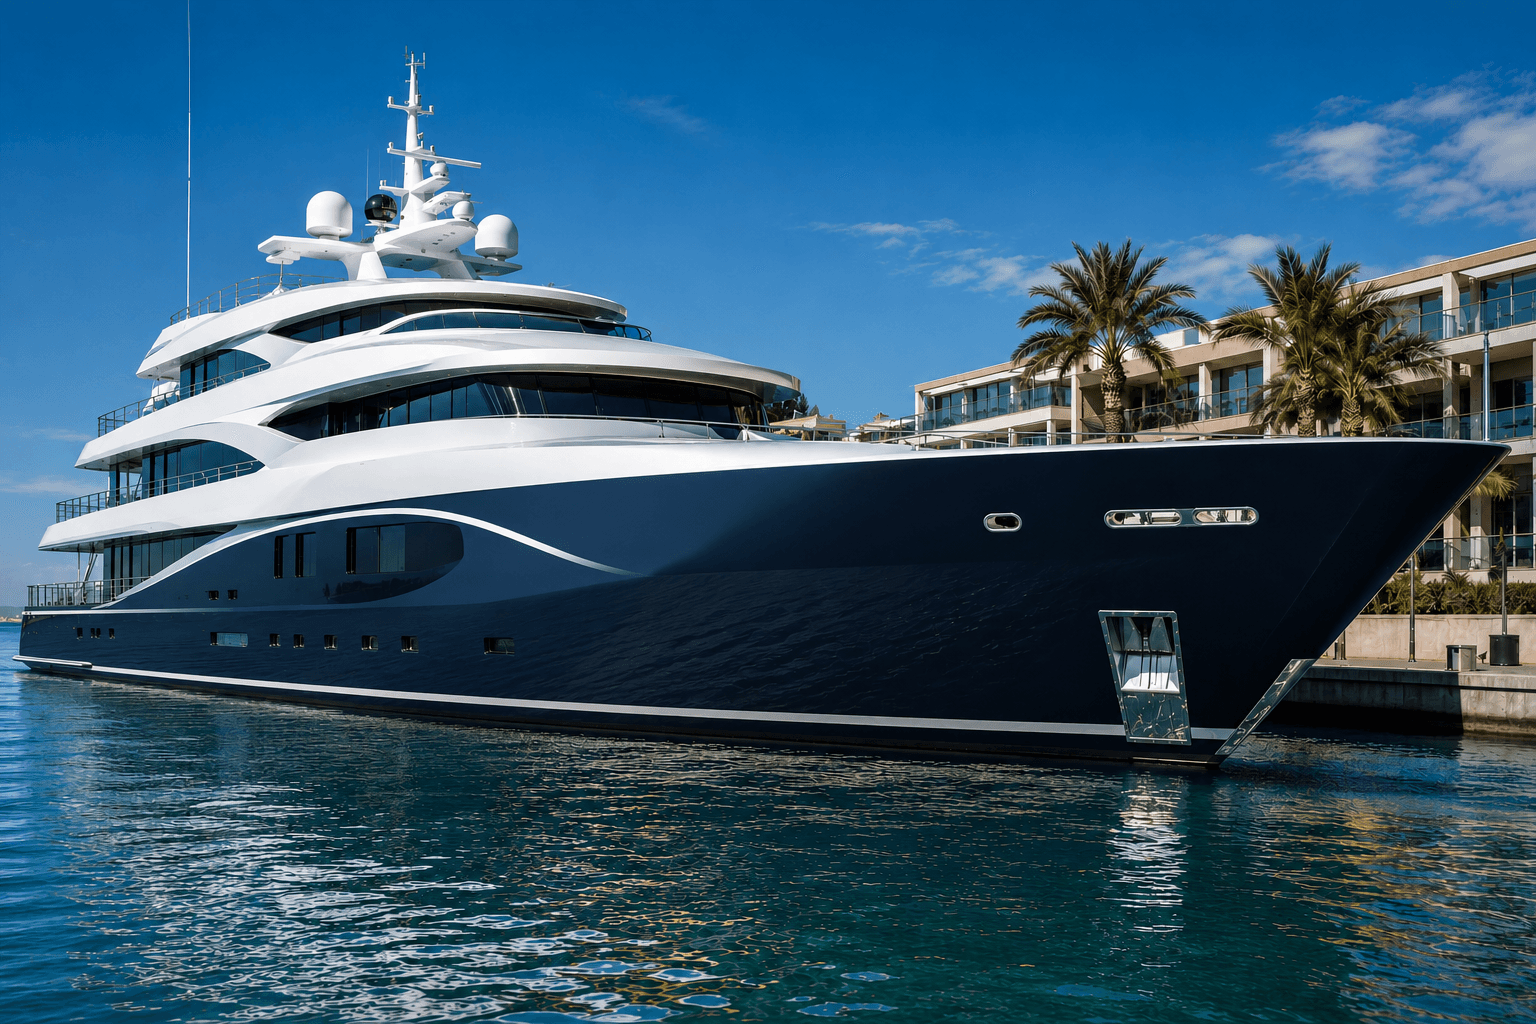
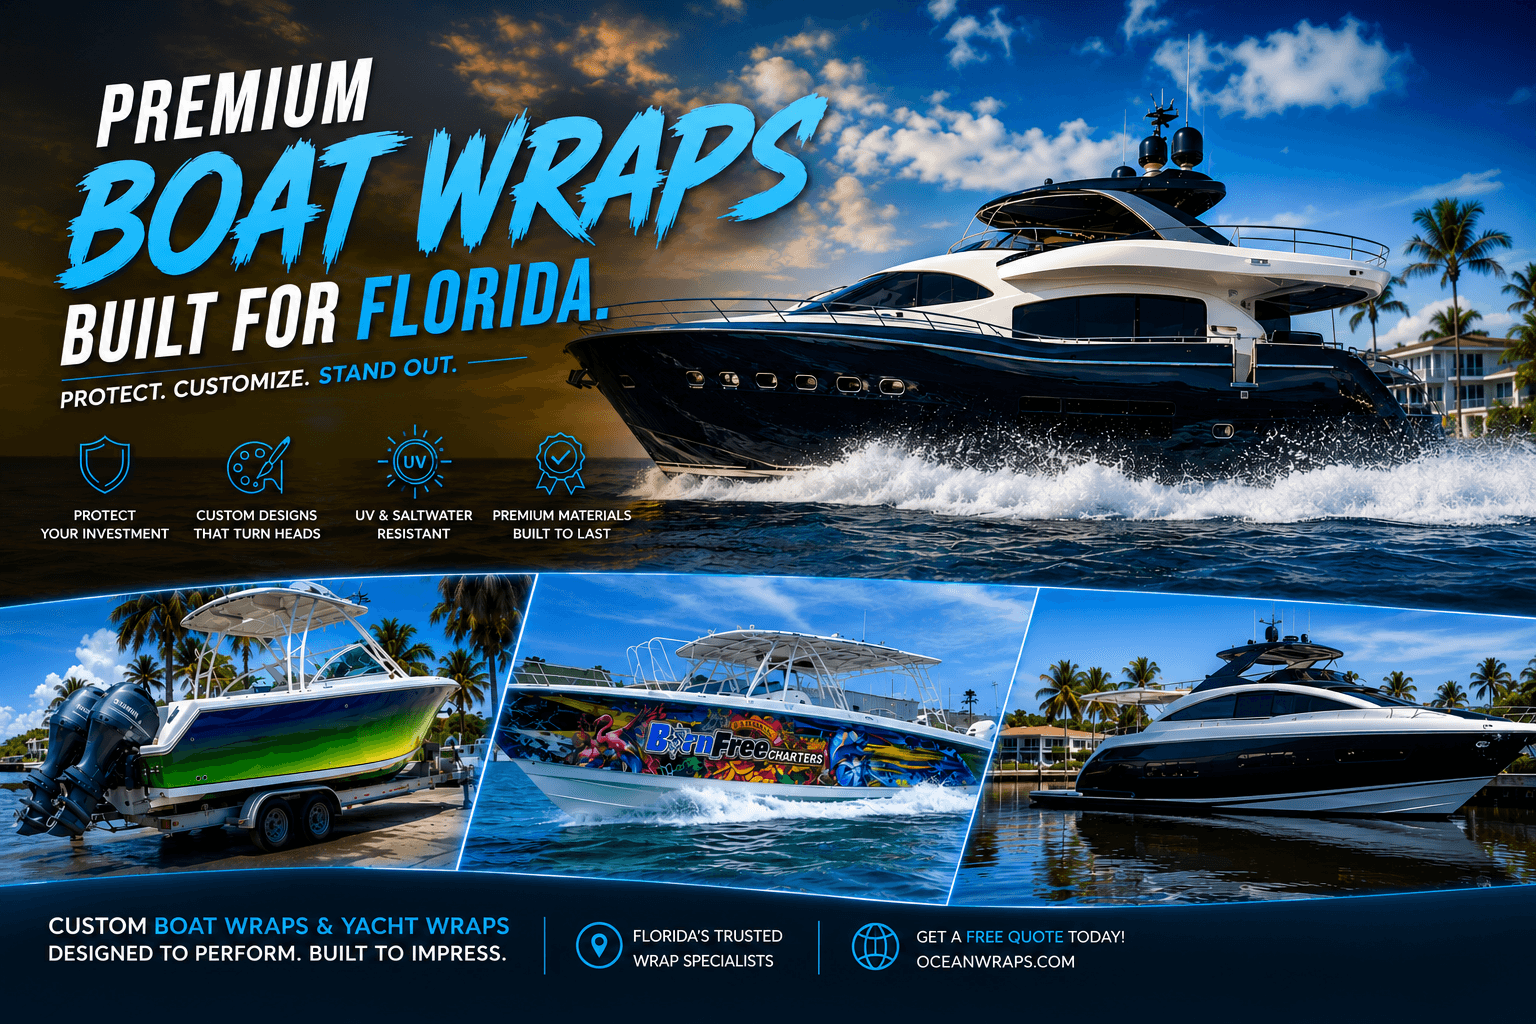
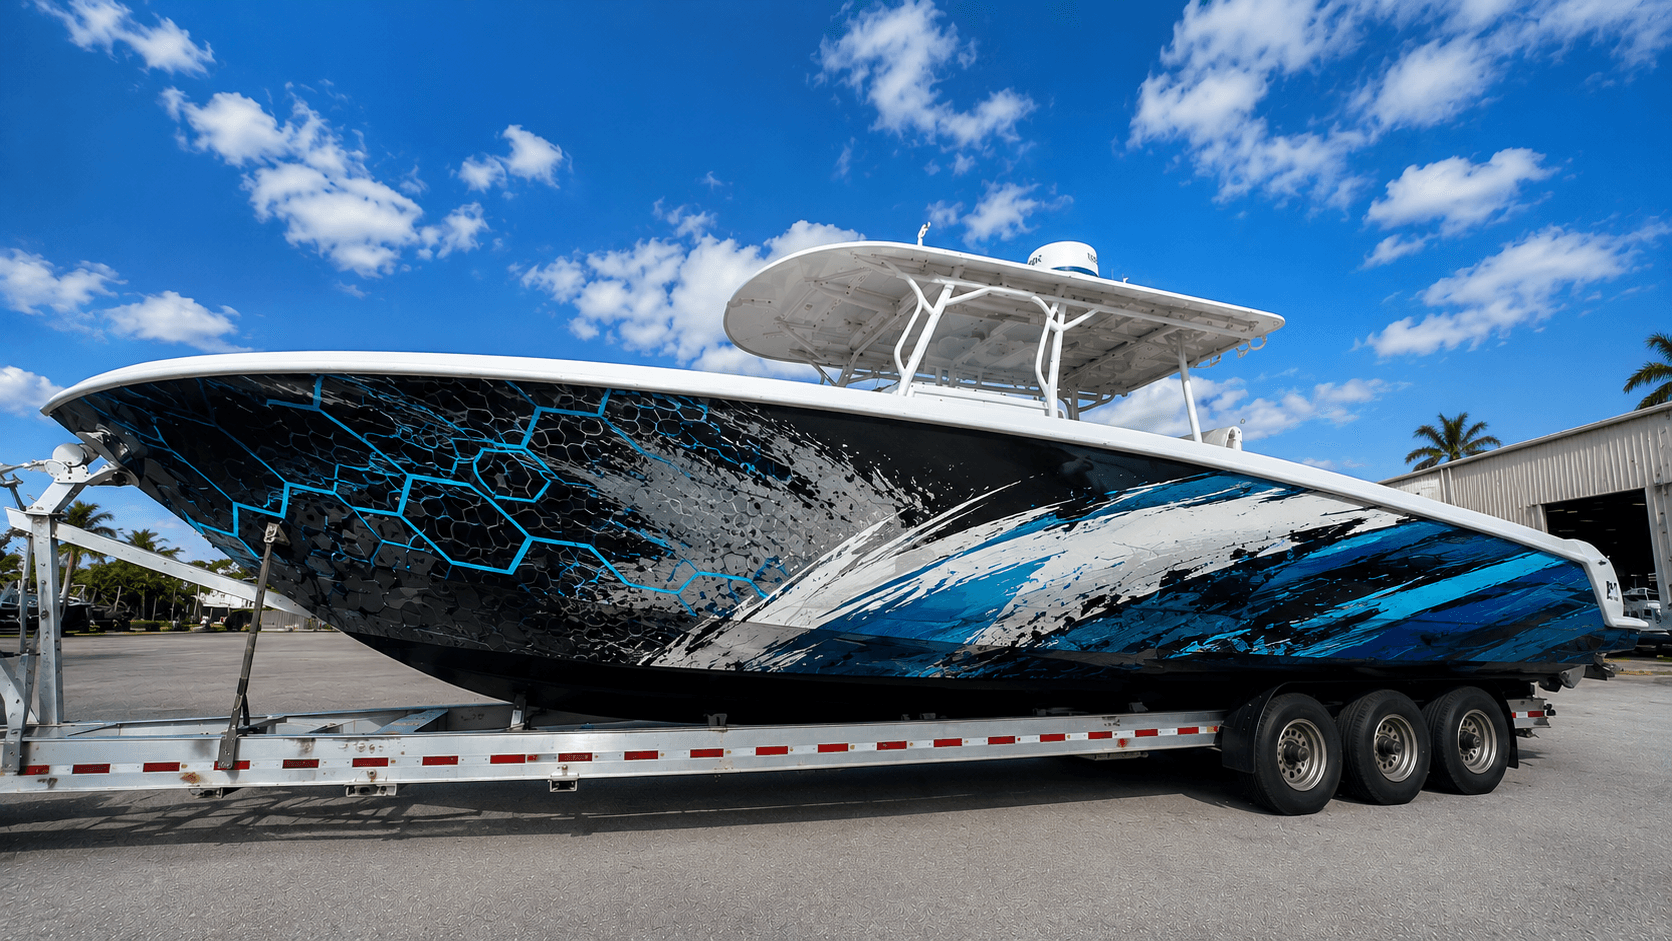
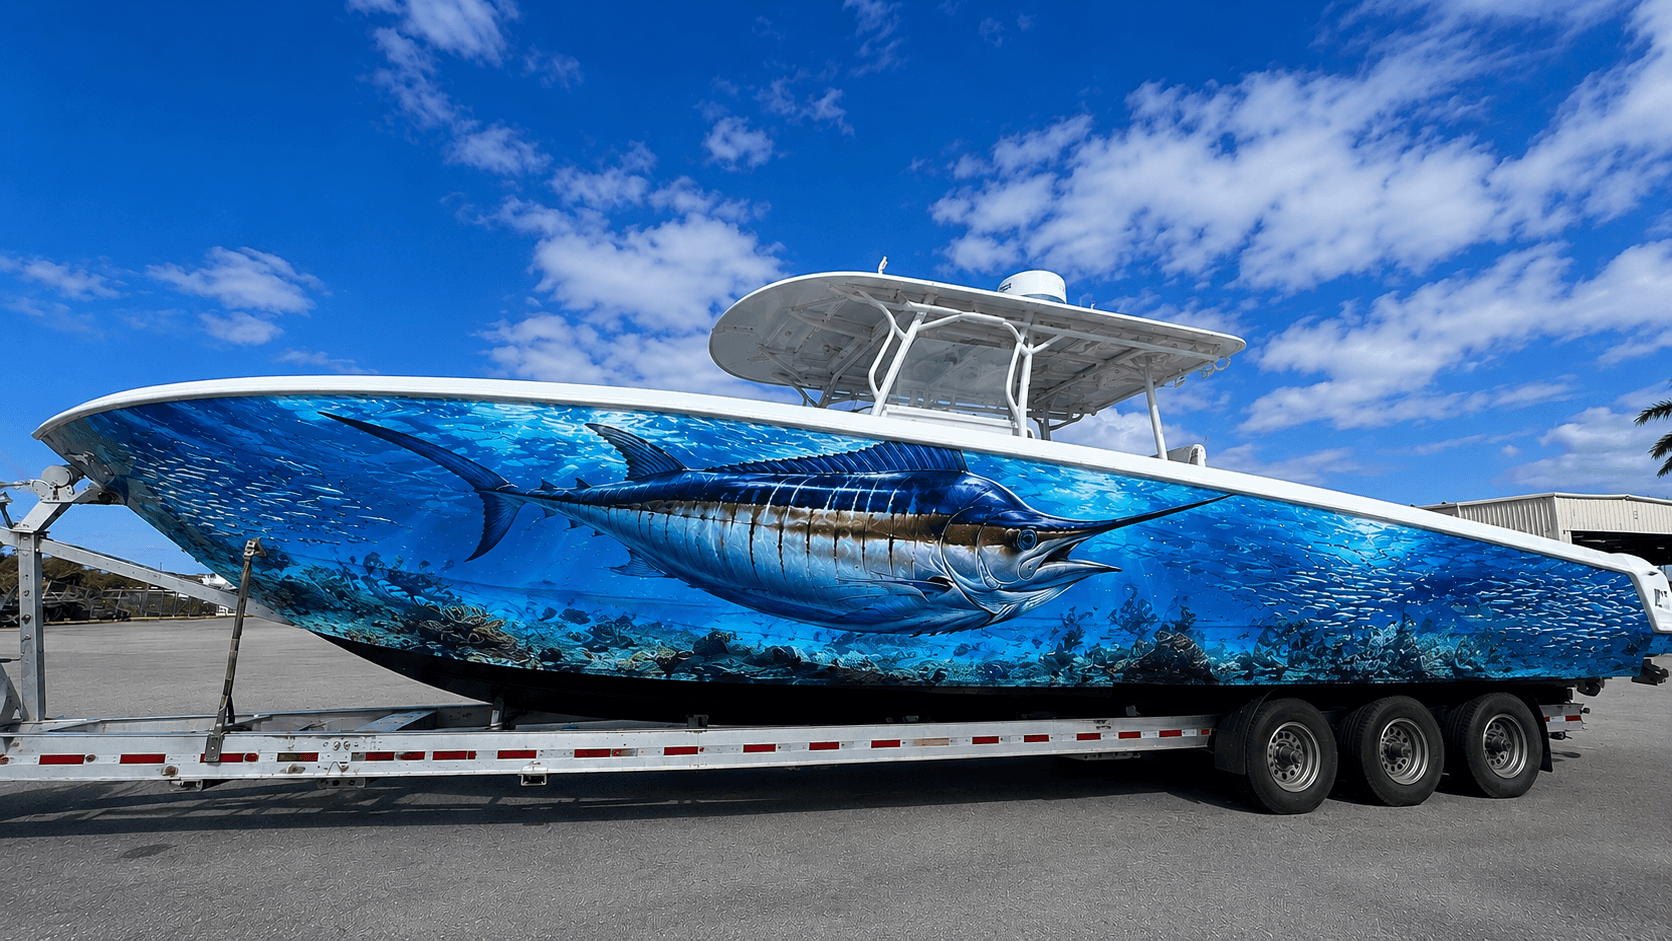
For owners of high-performance vessels, boat wraps offer a transformative solution for graphics and protection without permanent alteration. However, the complex curves, high-stress environments, and critical hydrodynamic surfaces of performance hulls present unique challenges. The success of a marine vinyl wrap on these demanding applications hinges entirely on the installer's ability to manage two critical factors: heat and adhesion. This is where the expertise of a certified professional becomes non-negotiable.
Boat Wraps Overview: Boat Wraps for High-Performance Hulls: How Certified Install#
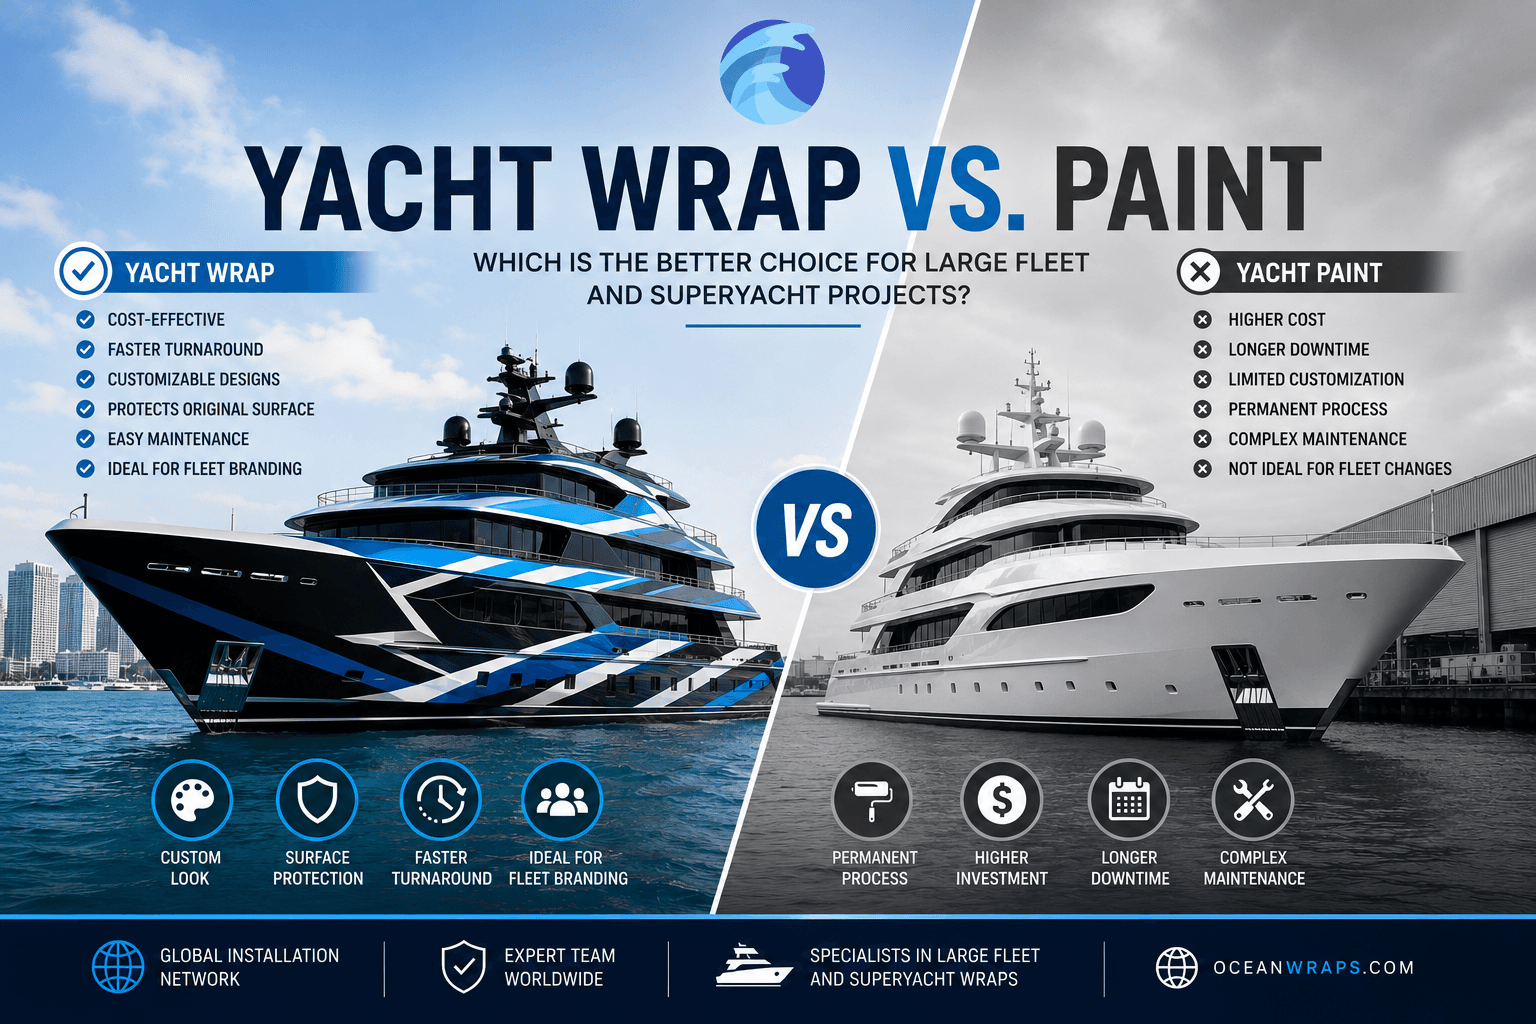
Professional-grade marine vinyls are engineered for hull flex, UV resistance, and saltwater durability, far exceeding automotive or generic materials.
Certified installers use controlled, graduated heat application to conform vinyl to complex curves without compromising the adhesive's long-term integrity.
Surface preparation is a scientific process, transforming the gelcoat into an ideal substrate for maximum molecular adhesion.
Edge sealing and post-heating are critical final steps that prevent premature failure, especially on high-speed hulls.
A certified installation, like those performed by OceanWraps, follows a documented process backed by material warranties and a proven track record.
The investment in professional boat wraps protects your hull's gelcoat and resale value while delivering superior, lasting graphics.
Adhesion is not merely sticky glue; it is a molecular bond formed between the vinyl's pressure-sensitive adhesive layer and the boat's substrate. On a high-performance hull, this bond must withstand constant flexing, impact from water at high speeds, and extreme environmental exposure. A DIY or uncertified approach often fails here, using incorrect cleaning agents that leave residues or failing to properly de-wax and decontaminate the gelcoat. This creates a weak boundary layer, the primary cause of vinyl lifting, bubbling, and premature failure.
Heat is the tool that allows vinyl to stretch and conform to compound curves without tearing. However, improper heat application is a leading cause of adhesive failure. Excessive or uneven heat can break down the adhesive's chemical composition, causing it to become brittle or overly fluid, which leads to adhesive transfer or loss of bond strength over time. Certified installers use specialized infrared heaters and heat guns with precise temperature control to gradually soften the vinyl, working it onto the surface without overheating any single area, thus preserving the adhesive's engineered performance.
The process begins far before the vinyl is unwrapped. The hull and topside surfaces undergo a meticulous multi-step decontamination. This involves a thorough wash, chemical de-waxing, a clay bar treatment to remove embedded pollutants, and a final wipe with a high-purity isopropyl alcohol solution. The goal is a surgically clean, completely dry surface that allows for perfect molecular contact.
Graphics are engineered digitally to minimize seams in high-stress areas. Certified installers plan the panel layout to follow the hull's natural lines, avoiding seams across sharp edges or deep concave/convex curves where lifting is most likely. Precise alignment using laser levels and registration marks ensures graphics are perfectly straight and symmetrical.
Stage 3: The Installation: Heat, Pressure, and Technique#
This is where expertise manifests. Using a slip solution, the installer positions the panel. They then systematically work out the fluid using specialized squeegees, applying controlled heat to specific zones to relax the material. Techniques like post-heating are used to relieve stress in the vinyl after stretching, ensuring it does not shrink back or pull at the edges. The entire process is a balance of tension, temperature, and timing.
Once the vinyl is applied, all edges are meticulously post-heated and firmly sealed. This critical step re-activates the adhesive at the perimeter, creating a permanent bond that blocks moisture ingress. Any through-hull fittings or hardware are carefully trimmed with precision knives.
Not all vinyl is created equal. Professional boat wraps use premium marine-grade materials. Cast vinyl is the standard for complex hulls due to its exceptional conformability and long-term durability. It is manufactured in a slow-casting process, creating a stable, flexible material that withstands stretching and environmental stress. For maximum protection and a deep gloss finish, a clear protective laminate is often applied over the printed graphics. This laminate provides an additional layer of UV resistance and abrasion protection, shielding the ink and vinyl beneath.
Marina Rules: Confirm your marina allows work to be performed on-site. Professional teams like OceanWraps are often insured and known to local marinas, facilitating the process.
Storage Implications: While vinyl protects gelcoat, extreme heat in enclosed storage can stress the adhesive. Proper ventilation is advised.
Wash Practices: Use mild, non-abrasive cleaners and avoid high-pressure nozzles directed at the vinyl edges. Avoid harsh solvents or abrasive pads.
Curvature Assessment: The more extreme the hull's compound curves, the more critical a certified installer becomes. They assess this during the initial consultation.
Warranty Validation: Most premium material warranties are only valid when installed by a certified professional, ensuring quality standards are met.
How long do boat wraps last on a high-performance hull?#
With professional installation and premium marine materials, a hull wrap can last 5 to 7 years or more. The longevity is directly tied to the quality of installation, material selection, and care. Certified installers follow protocols that maximize this lifespan.
Properly installed and removed, a vinyl wrap will protect your gelcoat from UV fading and minor abrasion. The risk of damage comes from improper removal, typically by an uncertified individual using excessive heat or force. A professional installer ensures safe removal, often leaving the gelcoat in better condition than when they started.
What is the main difference between a DIY kit and a professional installation?#
The difference is systemic: materials, tools, process, and warranty. Professionals use commercial-grade vinyl with advanced adhesives, specialized tools for heat and application, a proven multi-stage process for prep and install, and they back their work. This contrasts sharply with consumer-grade materials and a single-stage application common in DIY attempts, which are not suited for performance hulls.
Why choose a certified installer like OceanWraps?#
Certification signifies training directly from material manufacturers on the latest techniques for adhesion and heat management. A company like OceanWraps operates to these highest industry standards, providing not just a cosmetic service, but a technical solution engineered for the marine environment. Their expertise translates to a superior result that performs under pressure and lasts.