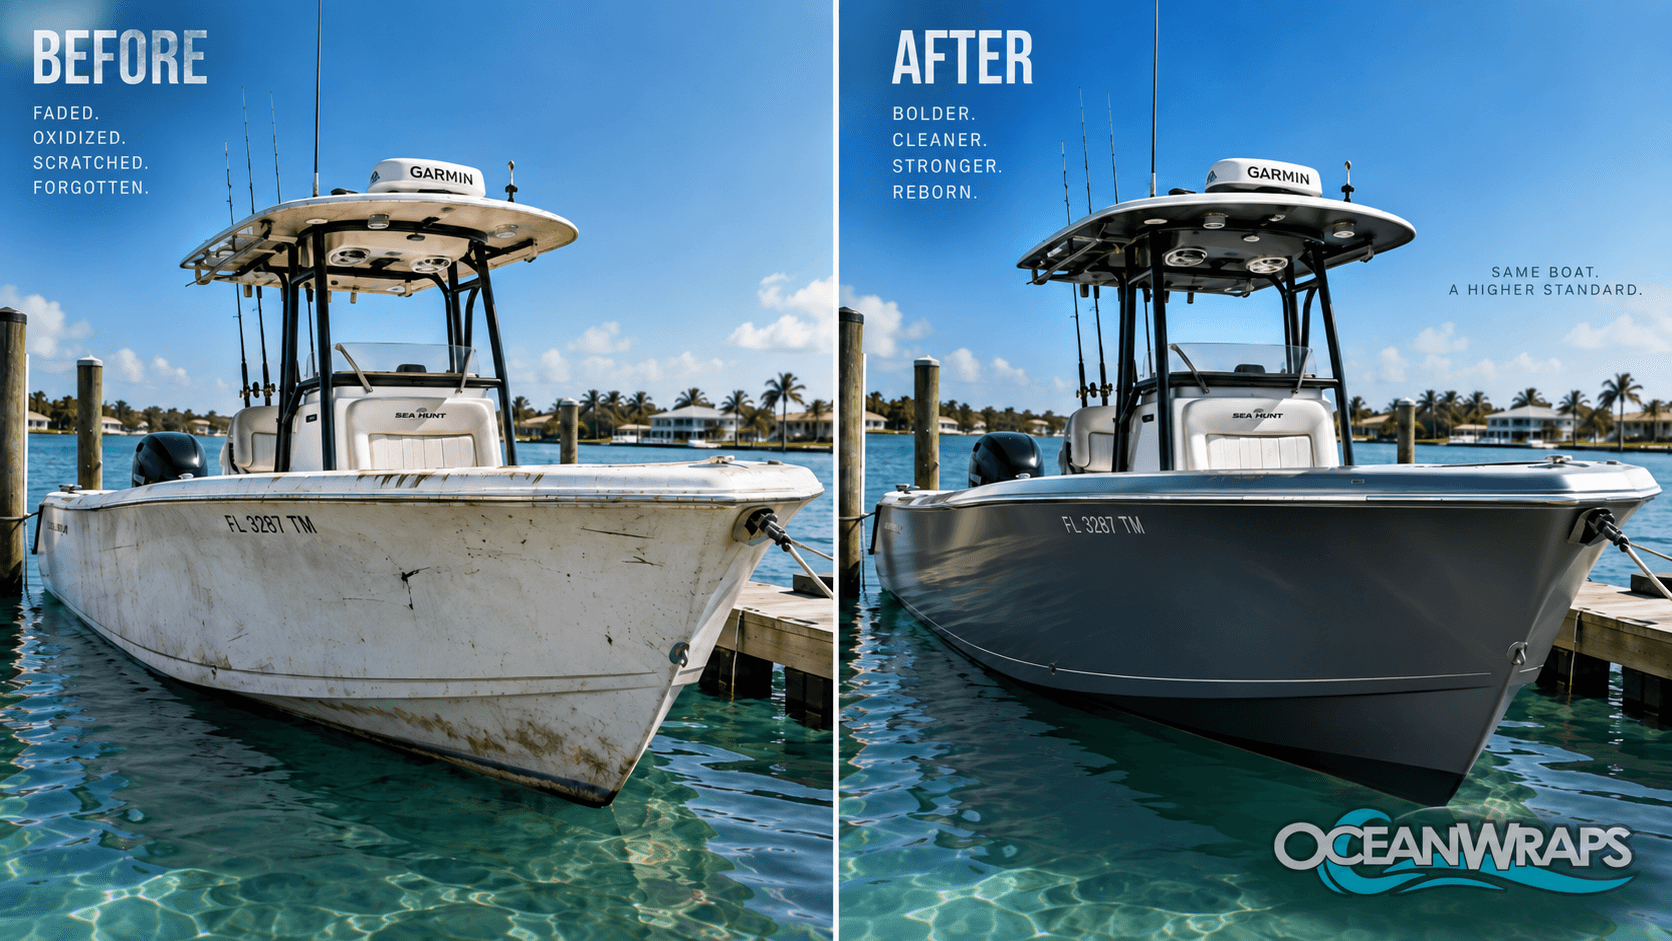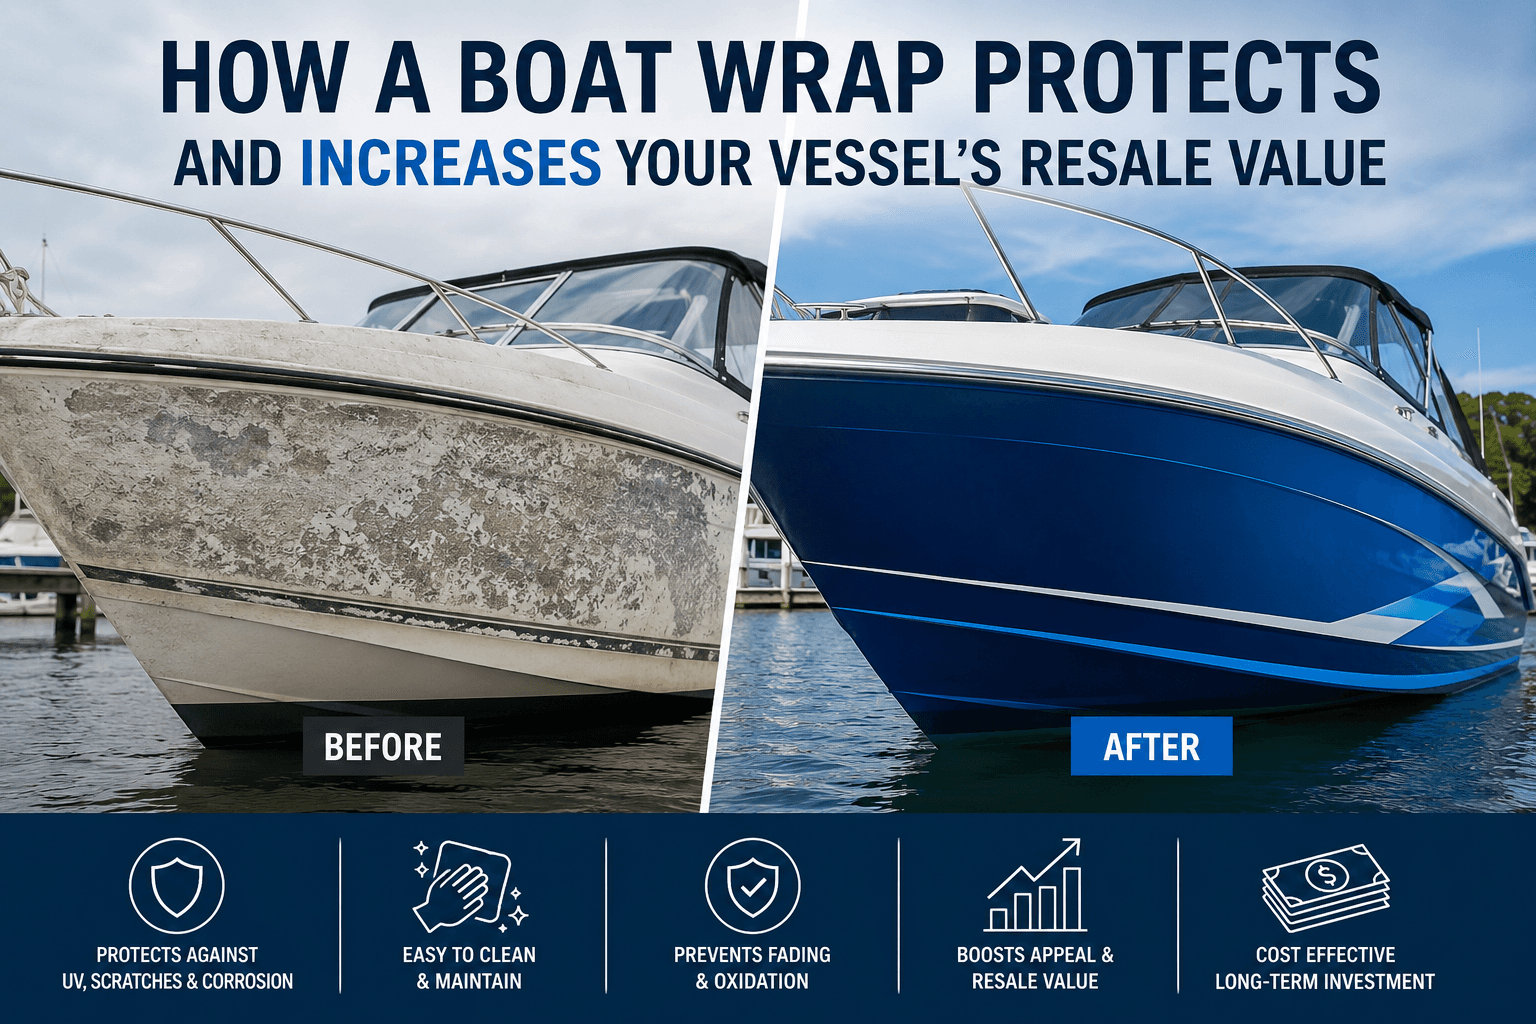
Most wrap failures are decided before the first panel goes on. Good preparation helps vinyl bond properly and last longer. Oregon's cool, damp weather makes this step especially important, as moisture and low temperatures can both interfere with adhesion.
Step 1: Inspect the surface#
Look closely at the hull in good daylight. Note any of the following:
- Oxidation or chalky gelcoat
- Cracks, chips, and gouges
- Peeling or flaking paint
- Old decals or adhesive residue
- Mildew or algae staining
- Soft or damaged areas around fittings
Film follows the surface, so any serious imperfection can show through it. Paint that is already failing can also lift with the film.
Step 2: Repair before you wrap#
Have damaged gelcoat and any structural problems fixed first, and allow repairs to cure according to the product's instructions. Filling and fairing an area poorly can leave a visible mark under gloss film. If you are unsure whether a repair is good enough, ask your installer before the work is scheduled.
Step 3: Remove old graphics and hardware#
Old decals generally need removing, along with any adhesive left behind. Remove or plan for hardware such as cleats, rails, and vents, because film finishes better around a clean edge than a fitting. Label your parts and keep fasteners organized, and plan to rebed fittings with an appropriate marine sealant when they go back.
Step 4: Deep clean#
Cleaning is usually done in stages. Wash away dirt first, then remove oils, waxes, and contaminants using products approved by your installer or the film maker. In the Pacific Northwest, also look out for mildew and algae, which should be cleaned off fully. Avoid any wax, silicone, or sealant products in the days before the job, as these can prevent the film from sticking. Skip "wash and wax" soaps too.
Step 5: Dry the boat thoroughly#
This step is easily underestimated in a damp climate. Water can hide in seams, fittings, and around hardware, and it can seep out while the panels go on. Allow plenty of drying time, ideally under cover. Check manufacturer temperature limits as well, since film can be harder to apply and may bond poorly in cold conditions.
Step 6: Plan the work environment#
For Oregon projects, shelter makes a big difference. A covered, dry space helps keep rain, dust, and condensation off the surface. If you are working in the wetter months, plan around heated or indoor space. Summer can offer better conditions, but book ahead as yards and installers can get busy then.
Questions to settle before the installer arrives#
- Who is responsible for each prep step?
- How will any extra repairs discovered during the job be approved and priced?
- Is the boat accessible, with power available?
- Will you need to move it after installation, and when?
Frequently asked questions#
Can I prep the boat myself?#
You can help with some of it, such as an initial wash or removing hardware. Check with your installer first, because the final cleaning usually needs to be done right before installation.
Can a boat be wrapped in cold weather?#
It depends on the film and the workspace. Follow the film maker's minimum temperature, and ask how the space will be kept within range.
Do you work with Oregon boats?#
Qualifying projects can be coordinated nationwide. Visit our boat wraps USA page or read about our vinyl boat wraps.